Gear Review: MSR Lightning Snowshoes


When I was young, I was quite adventurous and frequently explored the forest on my parent's property. I blame them for nurturing my curious spirit as I grew up as we would blaze new trails together, silently watch the beavers construct dams, and encourage me to explore the 100 acres of backwoods. I grew up using traditional snowshoes, although I favoured my cross-country skis as I wouldn't have to walk so bow-legged.
Fast forward over twenty years, and a lot has changed. Although I was still enjoying my cross-country skis, I found they didn't lend well for the exploring and outdoor photography that I still love to do. I needed something sturdier that allowed me to explore the intriguing nooks, crannies and heights of the backcountry. That's when I gave snowshoes a second look and once I discovered the MSR Lightning series, I promptly sold my skis.

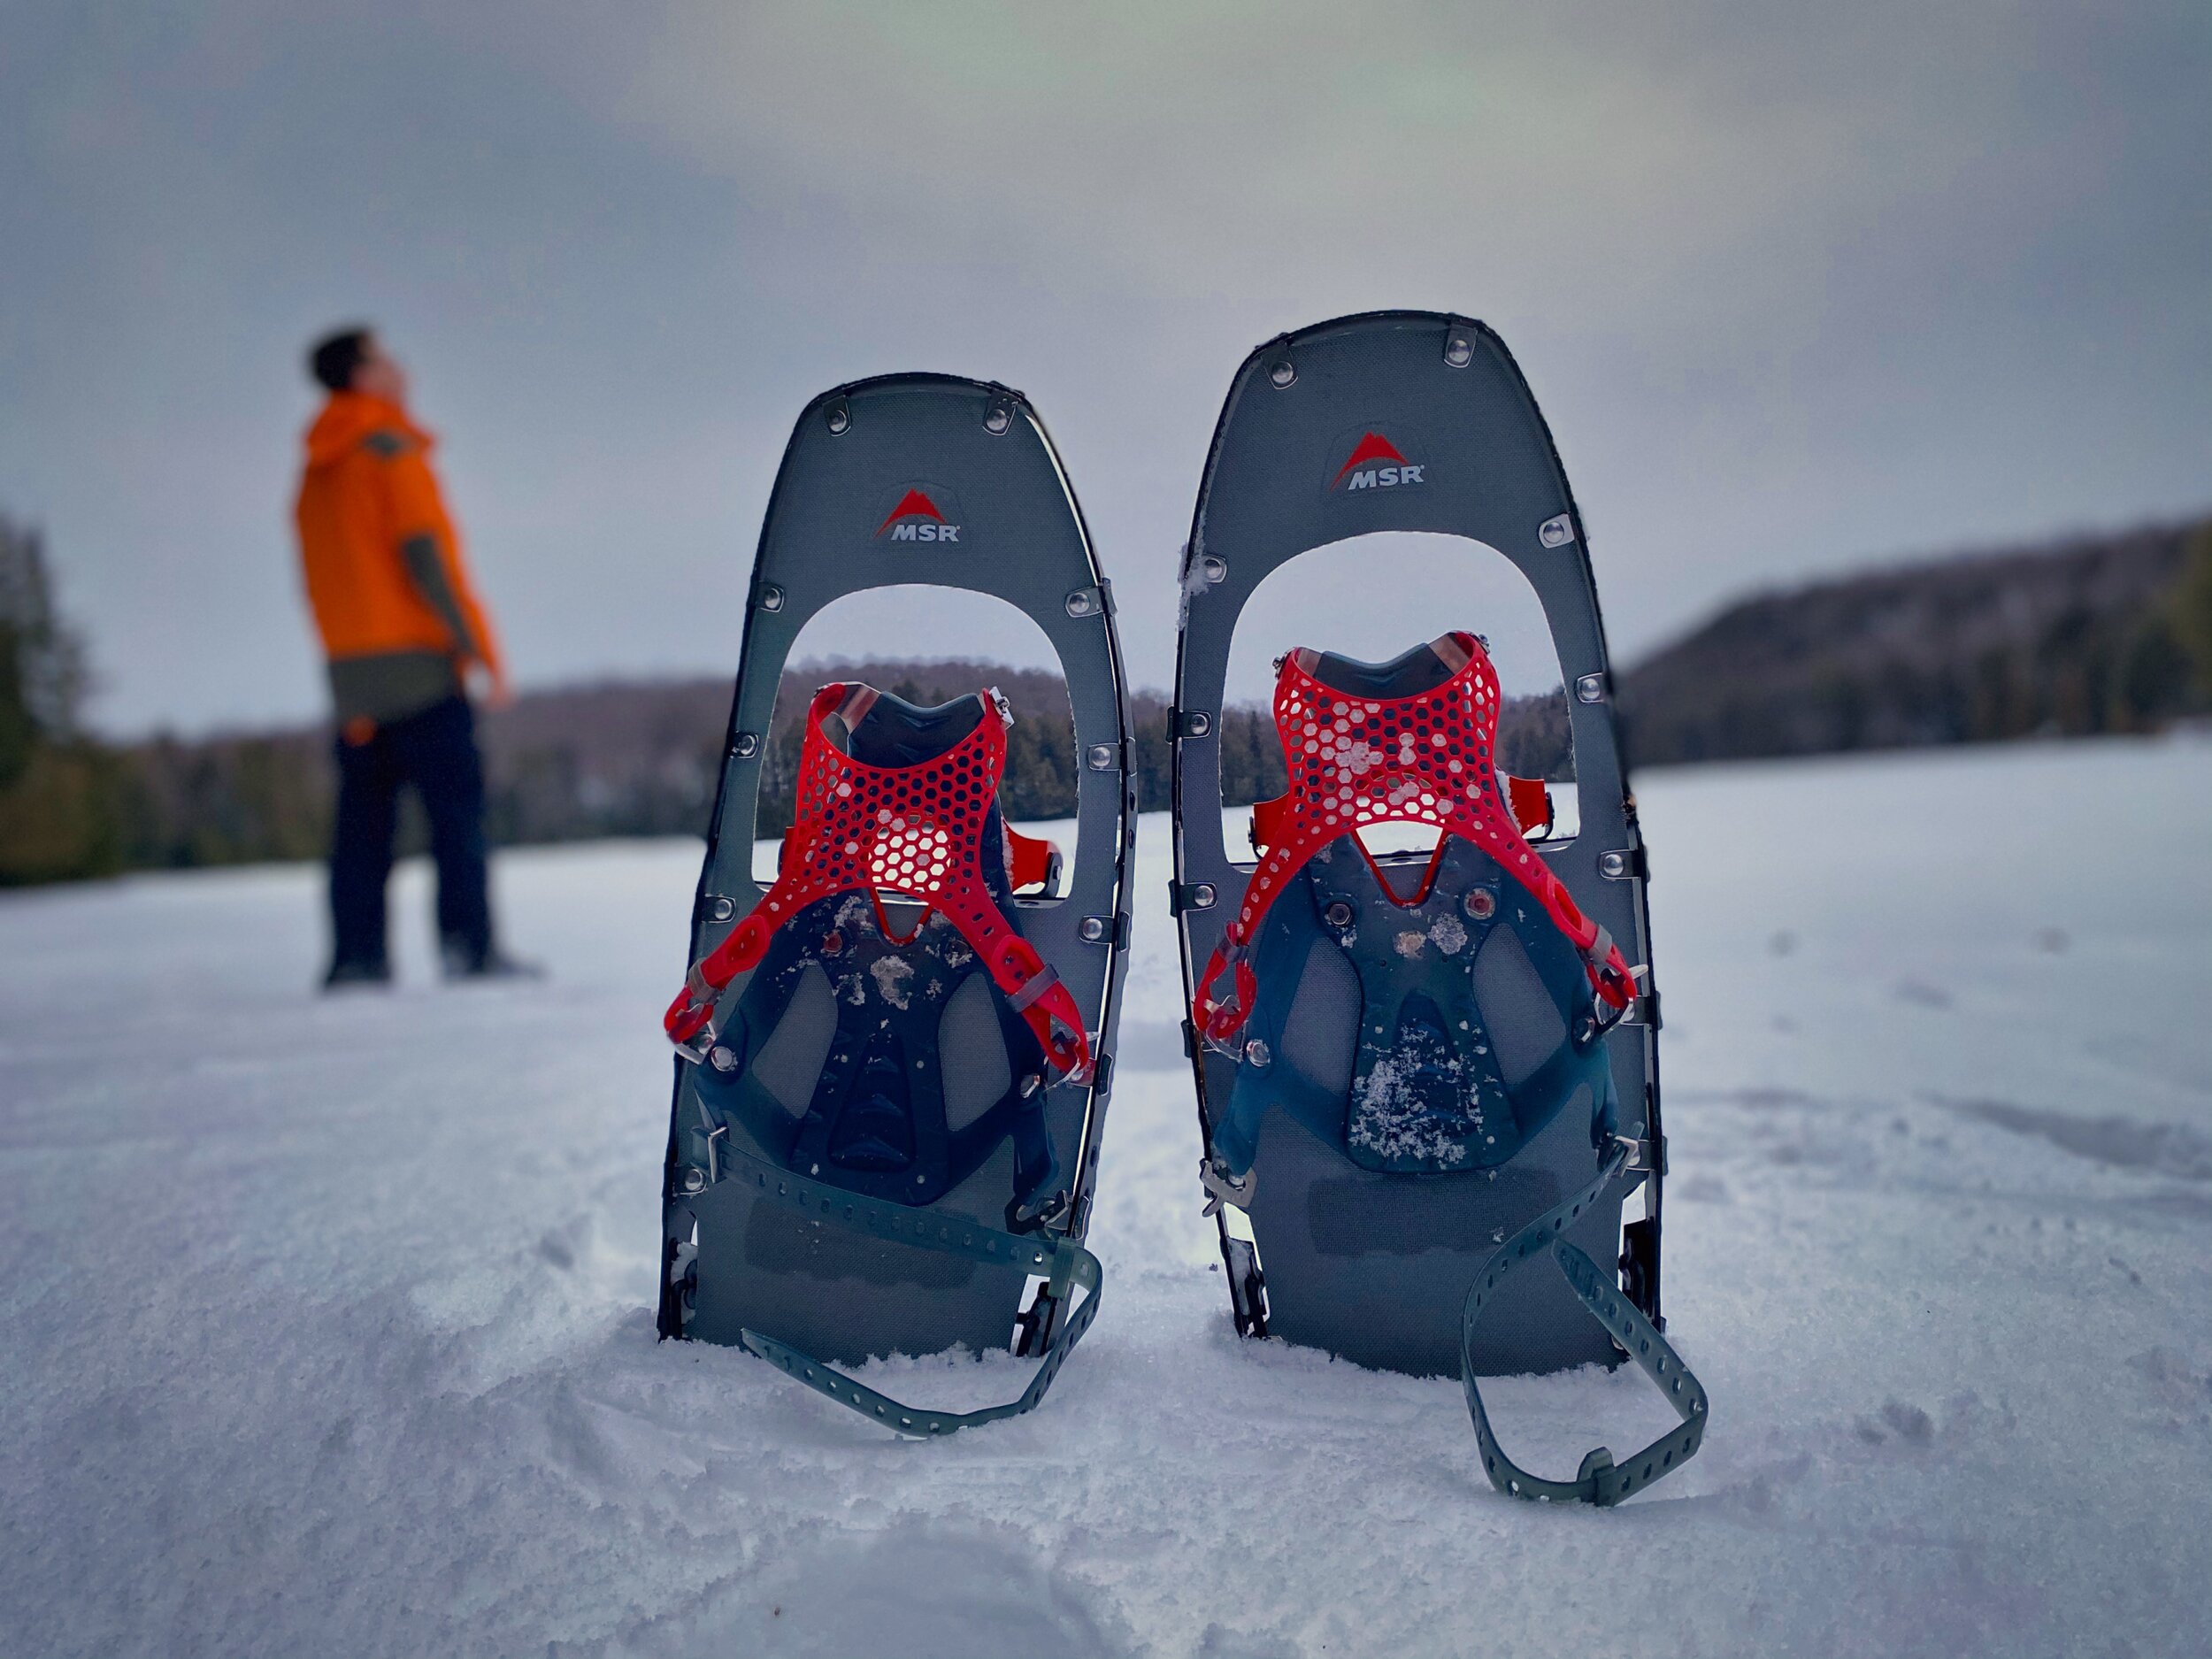
Lightning Axis in Red. Women's Lightning Ascent in Blue and Men's Lightning Ascent in Yellow.
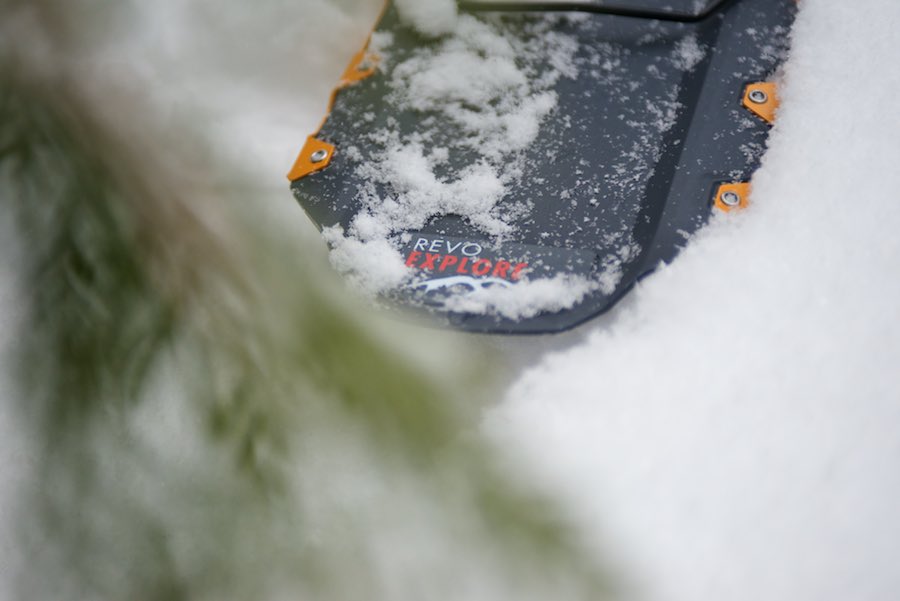
Update: Since writing this review, MSR has changed their lineup to now include the Lightning Trail, Lightning Ascent and Lightning Explore snowshoes).
The MSR Lightning comes in a few sizes for Men (22-inch, 25-inch and 30-inch) as well as a model for Women that is slightly narrower (available in 22-inch and 25-inch). The Lightning Ascent series (Men/Women) is for steep backcountry, while the Lightning Axis series (Men/Women) is geared for comfort on off-trail conditions. If you are unsure which one is the right choice for you, or which size you should choose, use MSR's handy online selection guide. When comparing snowshoes, I found that the Lightning series checked off each requirement I had on my mental checklist... starting with grip.

Traditional snowshoes, and many current generation ones suffer from a common grip issue. Once you strap in to your modern snowshoe, your grip is dependant on the weight you place with each step. The crampon, directly beneath your foot is all that keeps you from sliding on icy or packed down snow.
With the Lightning line, you will find the edges lined with aluminum teeth that assist with tricky ascents, scary descents and trails that have been frequently enjoyed. The frame never flexes and is quite light.

The crampon bites well into icy conditions, with the rest of the frame keeping you from slipping each step of the way


When I picture the science behind the creation of the Lightning, I picture a protractor, many revisions of blueprints, and lots of Auto-Cad simulations to calculate the multitude of mathematical angles for the snowshoe. I'm sure the weight of the frame was easy compared to contemplating the pivot point and swing of the snowshoe for each step you take. The angles on the Lightning all added up to a smooth stride that wasn't fatiguing, even after a long day's trek.
Something else to consider about snowshoes, is what to do when you get into trouble, such as getting snagged in some underbrush. With other snowshoes, it is almost impossible to walk backwards to free yourself, and you usually end up having to remove the snowshoe from your feet altogether. It is actually quite easy to reverse direction in a Lightning snowshoe, as there is a limitation to how far they swing when you pick up your foot and step backwards. This feature alone could spare you from injury in some situations.

Single SpeedLock binding on the Axis, Dual-component PosiLock AT bindings on the Ascent
Strapping in to the Axis is something that you should do at home before your first trip, as there is a bit of homework to do first. Place your foot onto the snowshoe, and lay the large strap over your boot (Dubbed the Speedlock binding by MSR). Take note of the indicated number next to the arrow on the strap as this will be the desired length for that particular footwear. Locking the main strap into place, you now just have to tighten up a secondary strap over the top of your foot (which is quite critical in keeping your foot from shifting), and one behind your heel (make sure to pull this one really tight). You're now set. Fiddling with these straps is no fun in the cold snow, so spend the time at home first to get this right.
The Ascent series doesn't require any prior configuration, just tighten the bindings for a very secure fit.

After a few outings on the Axis, if you find the snowshoe is toe-out or toe-in, you can adjust it
Now that you're all set, it's time to explore the backcountry and these snowshoes are the perfect accompaniment. There is no need to wait for perfect conditions as the temperature or type of snow accumulation make no difference. You can walk with an ordinary gait, and the decking material will keep you from sinking very deep.


While out exploring with your snowshoes and you encounter a steep ascent, there are built-in televators that you can flip up. Thanks to the wonders of angles again, the televators were quite successful in alleviating fatigue traversing climbs. They satisfyingly swing into place, don't collapse under your weight and don't rattle about as if they were cheaply manufactured.
I really have nothing to complain about with the MSR Lightning snowshoes. I can now explore until my heart's content from the dense forests, to wide scenic spances without sinking into the snow. They foster the childhood curiosity in me and let me see what is beyond the next ridge, or what there is to photograph deep within the woods.
Be sure to check out our reviews of the MSR Flight 3 Winter Poles, and the MSR Snowshoe Bag. You can also purchase modular floatation tails if you have fresh snow and a large pack that requires you to distribute the weight a little more efficiently. There are also replacement straps and clips if you loose them, as well as a Maintenance Kit for emergency repair (another example of the quality and foresight of these snowshoes).
Update: Since writing this review, MSR has changed their lineup to now include the Lightning Trail, Lightning Ascent and Lightning Explore snowshoes).